How to Clean Wheel Wells and Arches the Right Way
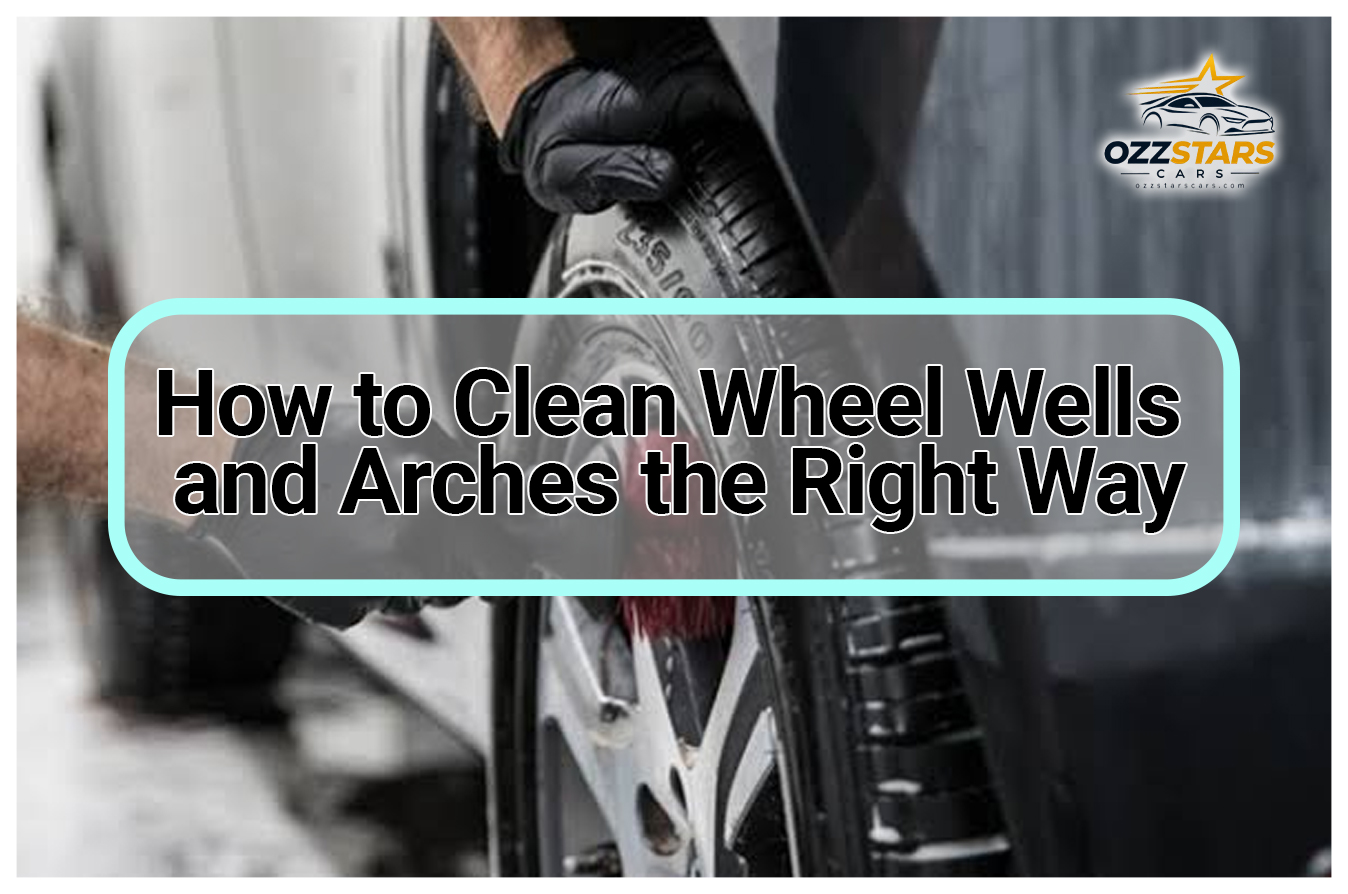
Here is how to clean wheel wells: with the car parked and cool, rinse the arch thoroughly to soften packed mud, spray a cleaner whose label approves plastic and rubber, scrub the liner with a long-handled brush kept only for this job, then rinse from several angles until the water runs clear. Keep the bristles inside the arch and off your paint, go gently on fabric liners, and never blast wiring or brake parts at close range. Afterward, test your brakes gently at low speed, because they may be wet.
Clean wheels inside a filthy arch look worse than before you started. The rest of this guide explains what is up there and why it deserves the effort.
Why dirty wheel wells matter more than they look
There are two reasons to clean an arch, and only one of them is looks.
The looks. A freshly cleaned wheel sits against the darkest, dirtiest part of the car. A brown or gray liner, streaked with road film, frames the wheel and makes the whole side of the car look unfinished. This is one of the most common reasons a car looks tired even right after a wash.
The metal. The wheel well is a catch basin. Tires throw mud, sand and road spray straight up into it, and in winter that spray carries road salt. Mazda's owner's manual section on underbody maintenance (2023 CX-5, read on September 25, 2026) says road chemicals and salt "may collect on the underbody," and if not removed "will speed up rusting and deterioration." It tells owners to flush the underbody and wheel housings with lukewarm or cold water at the end of each winter, and to try to do this every month, paying special attention to them because they easily hide mud and dirt.
That same manual adds a line most guides skip: "It will do more harm than good to wet down the road grime without removing it." A quick splash that turns packed mud into wet mud just keeps salt damp against the metal. If you clean an arch, clean it properly.
What is actually inside a wheel well
Knowing what you are spraying tells you how hard you can scrub.
- The liner. Most modern cars have a removable liner that shields the body. It is usually hard plastic, but some vehicles use a fabric or felt-like liner, which is softer and quieter and needs gentler treatment.
- Bare or coated body metal. Some older cars, trucks and parts of many arches have painted or undercoated metal instead of a liner. That is where rust starts.
- Suspension and brake parts. Springs, struts, control arms, brake lines and the back of the brake assembly all sit in or near the arch.
- Wiring. A wheel speed sensor cable, and on some cars other sensor wiring, runs through the wheel well to each wheel. These parts are built to live in road spray, but they are not built for a pressure washer nozzle held an inch away.
Look before you spray. Your owner's manual may also have a car care section with its own warnings about pressure washers and sensors, and it is worth reading once.
What you need
You do not need much, and none of it has to be special:
- A hose, and optionally a pressure washer used with a wide fan tip and kept at a sensible distance
- A cleaner whose label approves plastic, rubber and painted surfaces, such as an all-purpose cleaner or a wheel well cleaner, diluted exactly as its label says
- A long-handled brush with bristles suited to plastic, kept only for arches
- A smaller soft brush for the lip and edges near the paint
- Gloves and eye protection, because you will be spraying upward
- A separate bucket and towels that never go near your paint
Arch grime is some of the grittiest dirt on the car. It gets its own tools for the same reason wheels do in the two-bucket car wash method: anything that has touched it will scratch paint.
How to clean wheel wells, step by step
1. Park, cool down and make room
Work with the car parked on level ground, engine off, parking brake on and wheels cool. Do not work under a car supported only by a jack, and there is no need to take the wheels off for a routine clean. Removing and refitting wheels is a separate job with its own torque and safety rules, and it is outside this guide.
For better access to the front arches, some owners turn the steering to one side before switching the car off, which opens up the back of the front well. Do one side, then turn the wheel the other way on your next session or when you move the car.
2. Rinse and soak
Rinse the whole arch, aiming up into the liner from a few different angles. The goal is to soften packed mud, not to blast it. On heavy buildup, rinse, wait a few minutes, and rinse again. Keep water moving rather than holding it on wiring, connectors or the brake assembly.
3. Apply cleaner
Spray the cleaner onto the liner, working in the shade so it does not dry. Follow the label for dilution and how long to leave it. We do not publish ratios or dwell times, because they vary by product. Do not let it dry on the liner or run onto paint and leave it there.
4. Scrub the liner, not the paint
Work the long-handled brush over the liner in overlapping passes, from the top of the arch down. Keep the bristles inside the arch and angle the brush away from the painted fender lip, since grit on the brush will scratch paint on contact. Use the small soft brush for the edge closest to the paint.
On a fabric or felt liner, go gentler. Use less pressure, a softer brush, and let the cleaner and rinse do most of the work. Stiff scrubbing can rough up the fibers.
5. Rinse until the water runs clear
Rinse from several angles, including up behind the edges where mud hides. Mazda's manual also notes that the lower edges of doors, rocker panels and frame members have drain holes that should not be clogged, because trapped water causes rust. While you are down there, make sure you are washing mud out of those areas, not into them.
6. Dress plastic liners, if you want to
A dressing labeled for exterior plastic and rubber can darken a clean plastic liner so it looks new. It is optional. Apply it to a dry liner, follow its label, and keep it off brake parts, tire tread and paint. Skip dressing on fabric liners unless the product specifically approves them.
7. Test the brakes before normal driving
Water gets onto brakes when you clean arches. Mazda's manual says that after washing, owners should dry brakes that have become wet by driving slowly and lightly applying the brakes several times until braking returns to normal, and it warns that driving with wet brakes is dangerous. Do this at low speed, somewhere safe, before you head into traffic.
Where wheel wells fit in your wash routine
Arches are the dirtiest part of the car, so most people do them early, alongside the wheels and tires, before the paint gets washed. That way any splashback lands on panels you are about to wash anyway. Our guide on the order to wash a car covers the full sequence, and the question of washing wheels first or last applies to arches too: the order matters less than keeping their tools and water away from your paint.
How often to clean wheel wells
There is no single right interval. It depends on your roads, your climate and how much the car sits. A reasonable pattern:
- Every regular wash: a thorough rinse of the arches, even if you do not scrub them.
- After mud, gravel roads or off-road driving: a proper clean, because packed mud holds moisture.
- In winter where roads are salted: follow your manual. Mazda's says to flush the underbody and wheel housings at the end of winter and to try to do it every month.
Our look at how often to wash a car explains why different authorities give different answers, and the same reasoning applies here.
Common mistakes
- Wetting grime without removing it. Mazda's manual warns this does more harm than good.
- Using the arch brush on paint, or the paint mitt in the arch. Both spread grit.
- Holding a pressure washer close to wiring, connectors or brake parts. Use a wide spray, keep it moving and keep your distance.
- Dressing near brakes or tread. Dressing belongs on the liner only.
- Scrubbing felt liners like plastic. Softer liner, softer approach.
- Mixing cleaners. Use one product at a time, rinse it off fully, and work with ventilation.
FAQ
What is the best way to clean wheel wells?
Rinse thoroughly to soften mud, apply a cleaner labeled safe for plastic and rubber, scrub the liner with a dedicated long-handled brush, then rinse until the water runs clear. Keep brushes off your paint and avoid blasting wiring or brake parts at close range.
Can I use a pressure washer on wheel wells?
Many owners do, but use a wide fan tip, keep the nozzle moving and keep a sensible distance from wiring, connectors, sensors and brake parts. Check your owner's manual's car care section for any pressure-washer warnings specific to your car.
How do I clean felt or fabric wheel well liners?
More gently than plastic. Rinse well, use a cleaner whose label approves fabric or the liner material, agitate lightly with a soft brush, and rinse thoroughly. Skip dressing unless the product approves fabric liners.
Why should I clean wheel wells in winter?
Road salt and de-icing chemicals collect there. Mazda's owner's manual warns that if they are not removed, they speed up rusting and deterioration, and tells owners to flush the wheel housings at the end of winter and ideally every month.
Clean arches finish the job clean wheels start. Rinse thoroughly, scrub the liner, protect the paint, and check your brakes before you drive off.