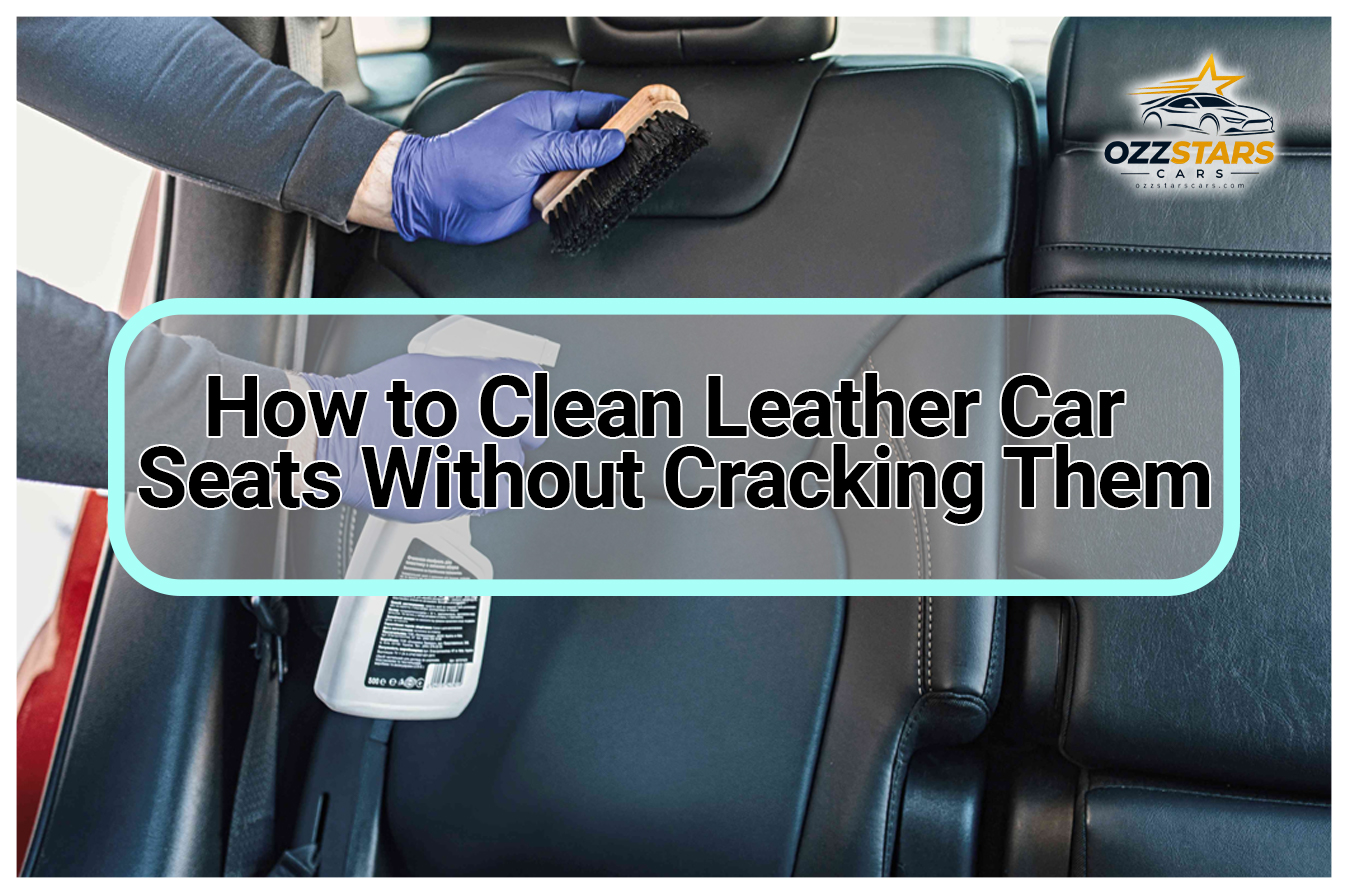
How to Clean Leather Car Seats Without Cracking Them
Short answer. Here is how to clean leather car seats without drying them out: vacuum first, test any cleaner on a hidden patch, then clean with a pH-neutral leather cleaner and a soft brush, working one small section at a time and wiping away the residue before it dries. Follow every cleaning with a leather conditioner. Skip dish soap, baby wipes, alcohol-based wipes and silicone "shine" sprays, all of which strip or seal over the leather's natural finish instead of working with it. The two failure points that ruin most seats are an alkaline cleaner that strips the leather's finish coat and a cleaning session that is never followed by conditioning.
Leather car seats do not crack because they get cleaned. They crack because they get cleaned with the wrong chemistry, or cleaned and never conditioned afterward. Understanding why makes the rest of this straightforward.
Why Leather Dries Out and Cracks in the First Place
Automotive leather is tanned hide finished with a thin topcoat of dye and, on most seats, a protective pigment or clear layer. That topcoat is what gives the seat its color and its slight sheen, and it is what takes the abuse: UV light, body oils, heat from a parked car, and whatever cleaner touches it.
The topcoat and the leather fibers beneath it both rely on retained moisture and natural oils left over from tanning to stay flexible. Strip those oils out with a harsh alkaline cleaner, an alcohol-based wipe, or repeated dry vacuuming with no follow-up, and the fibers lose their give. What was once flexible starts to crack the way a dry rubber band snaps instead of stretching. Heat and sunlight accelerate the same process by evaporating moisture faster than it is replaced, which is why the driver's seat bolster and the tops of the dash-facing surfaces usually crack first.
This is the reason a pH-neutral product matters more than a strong one. A cleaner formulated near leather's own pH range lifts dirt without also dissolving the oils holding the fibers together.
What You Actually Need
- A vacuum with a soft brush attachment (no exposed metal edges)
- A pH-neutral, leather-specific cleaner (not an all-purpose interior spray, not dish soap)
- A soft-bristled detail brush
- Two or three clean, dry microfiber towels
- A leather conditioner made for automotive upholstery
- A can of compressed air, if the seats are perforated
That is the whole list. Nothing exotic, and nothing that needs a hose.
How to Clean Leather Car Seats, Step by Step
Vacuum first, every time. Crumbs and grit are abrasive, and rubbing a cleaner over them before they are removed just grinds them into the grain. Use the brush attachment and get into seams and bolsters, where dirt collects and stays hidden.
Test the cleaner on a hidden patch. Under the seat or on the back of a headrest, apply a small amount and check after a few minutes for any color transfer or dulling. Dyed leather, especially, can react differently seat to seat even within the same car.
Work in small sections. Apply the cleaner to a soft brush rather than spraying it directly onto the leather, and work it in gentle circular motions over one section, roughly the size of a dinner plate, before moving on. Pressing hard does not clean better; it just works whatever grit is left deeper into the grain, which is the same reason detailers reach for the least aggressive product that will do the job rather than the strongest one they own, the logic behind picking the right level between polish and compound instead of attacking a mark with the harshest option available.
Wipe before it dries. A damp microfiber towel lifts the lather and the loosened dirt. Letting cleaner sit and dry on the surface leaves residue that attracts more dirt later.
Let the seat air dry fully before conditioning. Rushing this step traps moisture under the conditioner instead of letting the leather breathe.
Perforated Seats Need a Different Touch
Small ventilation holes punched through the leather are a direct path to the foam padding underneath, and foam that gets wet stays wet, which invites mildew and odor that never fully airs out. Vacuum perforated areas first with the compressed air to push out grit, then apply cleaner to the brush rather than the seat, and keep the towel damp rather than wet when wiping. If a section is heavily soiled around perforation holes, more passes with a barely damp brush beat one pass with a heavily loaded one.
Conditioning Is Not Optional
Cleaning removes dirt and some of the leather's remaining surface oils along with it. Conditioning is what puts a protective layer back and slows the moisture loss that leads to cracking. Skipping this step after a wash is one of the most common ways owners create the exact problem they were trying to prevent.
Lexol, a leather-care manufacturer whose two-step cleaner and conditioner system is built specifically around this sequence, states on its own product page that its pH-balanced cleaner is formulated with no silicones, waxes or added alcohols so it does not interfere with the leather's finish, and recommends following it with a conditioner while the leather is still slightly damp so the conditioner penetrates rather than sitting on top (Lexol product page, read 2026-09-18). Apply a small amount to a clean microfiber cloth, work it in with light pressure, let it sit for the time the label states, then buff off any residue with a second dry cloth.
Conditioner is not a one-time fix any more than paint protection is. It wears off with sun exposure, heat and normal contact, the same reason a coating's protection has a real service life rather than lasting indefinitely. Reapplying conditioner every two to three months, more often in hot climates or with heavy sun exposure, keeps the leather in the flexible range instead of letting it dry out between sessions.
Products That Do More Harm Than Good
Dish soap and household all-purpose cleaners are formulated to cut grease at a fairly alkaline pH, which is exactly what strips the oils out of leather's finish. One wash will not ruin a seat, but repeated use dries it out faster than normal wear would.
Baby wipes and antibacterial wipes usually carry alcohol or fragrance compounds meant for skin, not tanned hide, and alcohol is a solvent that pulls moisture and dye out of the topcoat.
Magic erasers and other melamine sponges are a mild abrasive. They can dull or wear through a dyed finish, especially on softer aniline leather, because the sponge is removing a microscopic layer of material every pass, not just lifting surface dirt.
Silicone-based "shine" sprays, the kind marketed for a glossy dashboard look, leave a slick film that can transfer to clothing and, on a leather seat, migrate into stitching and other trim over time. Some solvent-carried versions also need a ventilated space and gloves to use safely, since the solvent that carries the silicone is the same kind of compound that irritates skin and eyes with repeated contact; read the product's own safety data before using one in a closed car.
Ford's own customer support guidance on leather seat care recommends a mild soap-and-water solution or a leather-specific cleaner and explicitly advises testing any product in an inconspicuous area first, the same caution that applies across every leather type (Ford Support, read 2026-09-18).
Aniline vs. Pigmented Leather: Why Your Seats React Differently
Not all automotive leather is finished the same way, and the difference explains why a method that worked fine on one car damaged the seats in another. Pigmented leather has a polymer coating over the dye that acts as a sacrificial barrier; it tolerates cleaning products reasonably well because the cleaner is mostly working on the coating, not the hide itself. Aniline and semi-aniline leather, more common in higher trim levels marketed on their natural look and softness, carries little or no protective topcoat, so it absorbs cleaners, oils and spills far more readily, and it stains and water-spots more easily too.
If you are not sure which one you have, treat the seat as the more delicate aniline type until you have tested it: less product, softer pressure, and a hidden-patch test before anything else.
When to Call a Professional
Routine dirt, dust and light grime are a DIY job with the process above. Deep cracks, embedded stains that have set for months, or leather that has already gone stiff and brittle are a different problem, because at that point the fibers themselves are damaged, not just dirty, and a conditioner cannot rebuild fiber structure that has already broken down. That is the same line that separates a coating you apply yourself from a job better left to someone with the right materials and experience, the reasoning behind choosing between a DIY ceramic coating and a professional application rather than assuming more product fixes more damage. An upholstery specialist can recolor, fill and reseal cracked leather in a way a bottle of conditioner never will.
Keeping Seats From Drying Out Between Cleanings
Parking in shade or a garage cuts the single biggest cause of leather aging: UV exposure and heat. A windshield sunshade helps even in a driveway. Wiping down high-contact areas, the driver's bolster and the top of the steering wheel-adjacent trim, with a barely damp microfiber cloth between full cleanings removes body oils before they build up, without the wear and tear of a full clean-and-condition cycle every week.
FAQ
Can I use baby wipes on leather car seats?
Not as a regular habit. Most baby wipes carry alcohol or fragrance compounds intended for skin, and alcohol pulls moisture and dye out of leather's finish over repeated use. An occasional wipe on a small spill is unlikely to cause visible damage, but it is not a substitute for a pH-neutral leather cleaner.
How often should I condition leather car seats?
Every two to three months for most climates, and more often if the car sits in direct sun or a hot climate for long stretches. Conditioner wears off with heat and UV exposure the same way any protective layer does.
Is dish soap safe for leather car seats?
It can be used sparingly in an emergency, heavily diluted, but it is not formulated for leather and its alkaline pH strips the same natural oils a pH-neutral leather cleaner is designed to preserve. Repeated use dries the leather out faster than normal wear.
Do I need different products for perforated leather seats?
The products are the same; the technique changes. Apply cleaner to the brush rather than spraying it directly onto perforated areas, keep the towel barely damp, and use compressed air to clear grit from the holes before wet-cleaning, so moisture does not reach the foam padding underneath.
Why did my leather seats get stiff after cleaning?
The most common cause is cleaning without conditioning afterward, which removes surface oils and leaves nothing behind to replace them. An alkaline cleaner or an alcohol-based wipe makes this worse. If the seats were already stiff before cleaning, the fibers may already be damaged enough that a specialist repair is the more realistic fix.