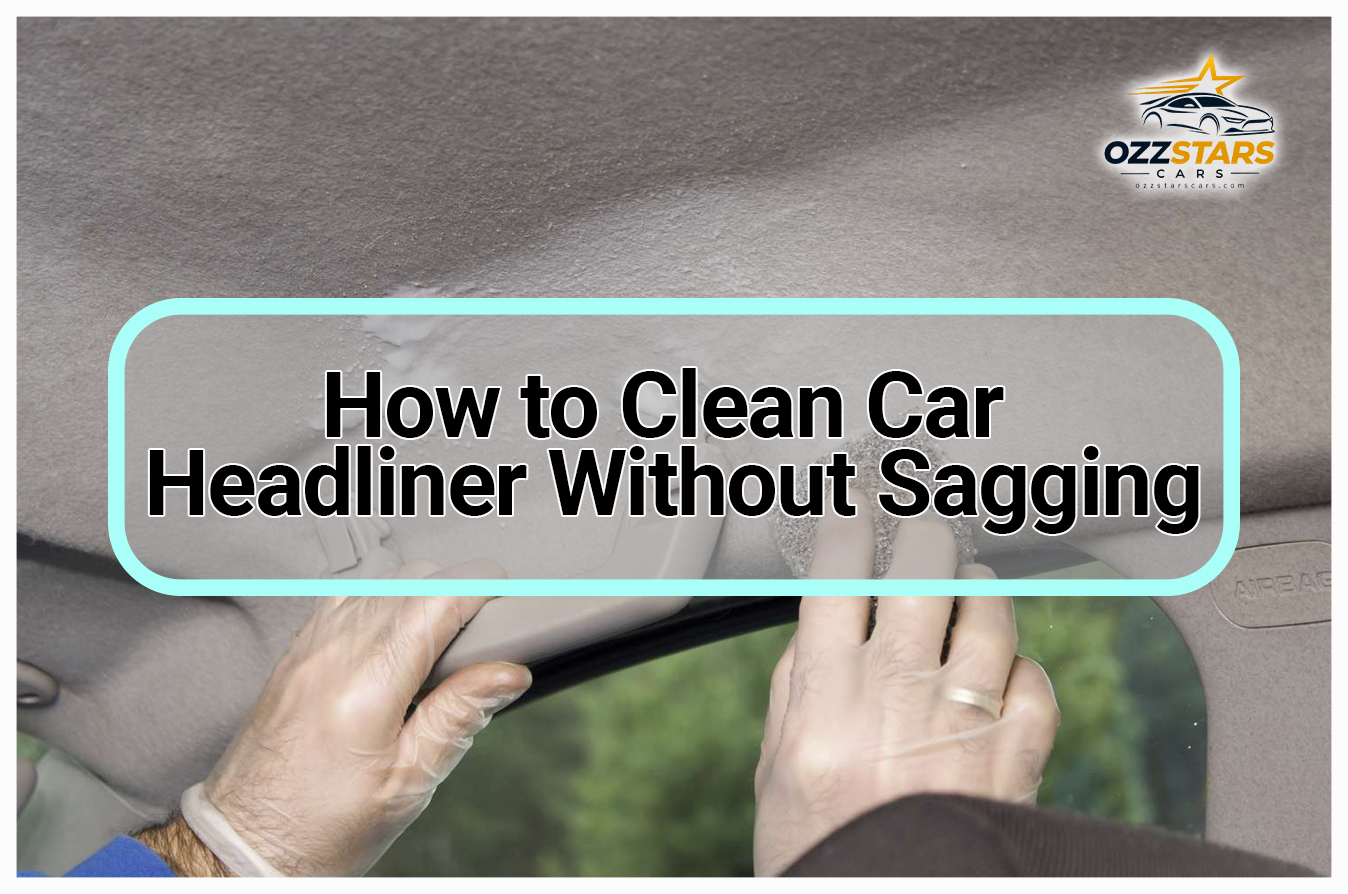
How to Clean Car Headliner Without Sagging: Damp, Not Wet
The short answer: to clean a car headliner without sagging, keep it damp, never wet, and never scrub. Brush or vacuum off loose dust gently, put a small amount of fabric or upholstery cleaner on a microfiber cloth instead of on the roof, blot the mark with light pressure, lift the residue with a second dry cloth, and let the cabin air out with the doors or windows open. Sagging starts when moisture or friction reaches the thin foam and adhesive behind the fabric, so the whole method is about keeping both away from that layer.
That is the answer most guides give, and it is correct. What they rarely cover is the part that decides whether it works on your car: whether the headliner was already failing before you touched it, and which strip of the ceiling you should leave alone entirely because a curtain airbag sits behind it. We cover both below.
Why headliners sag: the cause before the fix
A headliner is not a single piece of fabric. It is a layered panel: a thin face fabric, a thin layer of foam bonded to the back of that fabric, adhesive, and a rigid molded backing board that clips or fastens to the roof. The fabric stays up because the foam and glue hold it to the board.
That foam is the weak point. Heat, humidity and age break it down over the years, and in many older cars it turns brittle or powdery while the glue on either side is still doing its job. When that happens the fabric is effectively held up by a layer of crumbs.
Now think about what cleaning does to that layer:
- Water soaks through. Fabric is thin and absorbent. Liquid sprayed on the ceiling passes through it into the foam, softens the adhesive, adds weight, and dries slowly because the board behind it does not breathe.
- Scrubbing shears. Rubbing back and forth pushes the fabric sideways against the foam. On a weakened panel, that is enough to separate the two, and once they separate they do not rejoin on their own.
- Heat loosens glue. Hot water, steam or a hair dryer pointed at the ceiling puts heat straight into the adhesive you are trying to protect.
So the rule "damp, not wet; blot, not scrub" is not a matter of preference. It follows directly from how the panel is built.
Before you clean: check whether it has already let go
This is the step most readers skip, and it explains a lot of "I cleaned it and it fell down" stories. Cleaning often does not cause the failure. It reveals one that was already there.
Look along the ceiling in good light, especially near the rear window and around a sunroof, where heat and moisture build up. Then press very lightly with a flat, clean fingertip on the area you plan to clean.
| What you see or feel | What it likely means | What to do |
|---|---|---|
| Fabric feels firm and moves with the board | The bond is intact | Clean with the damp-cloth method below |
| A soft spot that gives or a small bubble | The fabric has started to separate from the foam | Dry-clean only, no liquid on that area |
| Fabric slides over the board, or you hear a faint crunch | The foam behind it has broken down | Do not clean it wet; the fabric is already loose |
| Visible droop, even a small one at an edge | The bond has failed | Cleaning will not fix it; see the repair section below |
| Water marks or rings that keep coming back | Water is getting in from somewhere | Find and fix the leak before you clean anything |
If the whole headliner fails the press test, a thorough clean is the wrong project. Light dry dusting is about all that panel can take.
The airbag zone: do not disturb the roof edges
Many modern cars have side curtain airbags folded along the roof rails, above the side windows, hidden behind the edges of the headliner. When they deploy, they push the headliner edge out of the way and drop down over the windows. You cannot see them, which is exactly why this matters during cleaning.
The 2021 Ford Edge Supplemental Owner's Guide (read on Ford's owner manual site on 2026-09-23) describes its Safety Canopy curtain airbags as mounted to the roof side-rail sheet metal behind the headliner, and warns: "Do not place objects or mount equipment on or near the headliner at the siderail that may come into contact with a deploying curtain airbag." Other makers word it differently, but the principle is the same. Your own owner's manual will show where your car's curtain airbags are, and many cars also print "AIRBAG" or "SRS" on the pillar trim or near the headliner edge.
What that means for cleaning:
- Clean the roof edges above the doors with a light touch only. Dust and blot; do not pull, pry or press hard.
- Do not unclip, loosen or peel back the headliner edge or the pillar trim to "get behind" a stain. That trim is part of how the airbag deploys.
- Do not pin, glue or tape anything along the side rails as a fix for loose fabric. A pin or a strip of tape there is an object in the airbag's path.
- Leave grab handles, coat hooks and their mounts alone. Clean around them, do not remove them.
Airbags and the SRS system are safety systems. If the headliner edge near a side rail is damaged, loose or has been disturbed, that is a job for a dealer or an auto upholstery shop that works to the manufacturer's procedure, not a weekend fix.
How to clean car headliner without sagging, step by step
This method assumes the area passed the press test above.
1. Dry clean first
Start with the least invasive tool. Use a soft-bristle brush, a clean dry microfiber cloth, or a vacuum on low with a soft brush attachment, and work gently in one direction. Strong suction on a bare nozzle can tug at the fabric, and on a weak panel that is enough to start a bubble. A surprising amount of the gray film on a headliner is dust and comes off at this stage.
2. Pick a cleaner made for interior fabric
Use a fabric or upholstery cleaner whose label says it is suitable for automotive interior fabric or headliners. Some are sold specifically as headliner cleaners, often as a low-moisture foam. Follow the label for how much to use and how long to leave it; the right dwell time depends on the product, so we do not give one here. Check your owner's manual too, since some carmakers list what they do and do not want used on interior trim.
Skip bleach, strong solvents and general-purpose degreasers. They can discolor the fabric or attack the adhesive. Before using anything on a visible spot, test it on a hidden area, such as the part of the ceiling a folded-up sun visor normally covers, and let it dry fully to check for color change or a ring.
3. Put the cleaner on the cloth, not on the ceiling
Spraying up at the roof puts far more liquid on the fabric than you need, and it runs. Lightly mist or apply the cleaner to a folded microfiber towel so the cloth is damp, not dripping. If the product is a foam, apply it to the cloth or follow the label if it tells you otherwise.
4. Blot and lift, with light pressure
Press the damp cloth onto the mark, lift it, and move to a fresh section of the cloth. Repeat. If a light touch needs a little help, a soft brush moved gently in one direction is the most we would use, never a back-and-forth scrubbing motion. Follow straight away with a dry microfiber cloth, blotting to pull moisture and loosened grime back out of the fabric.
Work from the outside of a mark toward its center, and feather the edge of the damp area outward slightly, so you do not leave a hard line that dries into a ring.
5. Dry it the gentle way
Leave the doors or windows open, or park in a shaded, well-ventilated spot until the fabric is fully dry. A fan moving air through the cabin helps. Avoid pointing a hair dryer or heat gun at the ceiling, since heat is the other thing the adhesive does not like.
Chemical safety in a small cabin
A car interior is a small, enclosed space, and you are working with product overhead, close to your face. The EPA's guidance on volatile organic compounds and indoor air quality (read on 2026-09-23) advises following label instructions carefully, providing plenty of fresh air when using these products, and never mixing household care products unless the label directs it. Open the doors before you start, use one product at a time, and do not combine cleaners in the hope of making a stronger one.
Stains that need a different approach
Not every mark on a headliner is a cleaning problem.
Water rings and brown tide marks. These usually mean water has come in from above, often from a sunroof drain, a roof seal or a windshield seal. Cleaning the mark without fixing the source just resets the clock. Find the leak first. This is a cause-before-fix problem, the same way our guide to cleaning an engine bay without spraying the wrong parts starts with what the water will reach before it picks up a hose.
Smoke film. A yellowish, even discoloration from cigarette smoke is spread across the whole ceiling, not sitting in one spot. It usually takes several light passes over time rather than one heavy one, and the odor often lives in the foam as well as the fabric, which cleaning the surface cannot fully reach.
Grease, makeup and hand marks. These tend to sit on the surface and often respond well to the blot method. Be patient and repeat light passes rather than pressing harder.
Mold or mildew spots. These point to moisture that keeps coming back. Treat it as a leak and dampness problem first. If the growth is widespread or the headliner smells musty after drying, it is worth having a professional look at the source.
A headliner is a good example of a surface where the usual instinct gets you into trouble. We make the same point about finishes in our article on why the normal washing rules invert on matte paint: more effort is not more care.
"I scrubbed a mark and now the fabric is coming away"
If you are here because this already happened, stop cleaning that area and let it dry completely. A wet, freshly lifted patch is at its weakest, and any further handling makes it bigger.
Once it is dry, look honestly at what you have:
- A small bubble in the middle of the panel. It has separated from the foam. Leave it alone and keep liquid away from it. Pressing it back does not re-bond it.
- A loose flap or droop. The bond has failed in that area. Spray adhesive pushed in from underneath rarely lasts when the foam itself has crumbled, because the new glue sticks to loose foam dust rather than to anything solid. Many auto upholstery shops will tell you that the lasting fix is removing the board and re-covering it with new foam-backed fabric.
- Anything near the roof edges above the doors. Do not pin, glue or tape it. That is the curtain airbag zone described above. Take it to a shop.
If you do use a spray adhesive on a small area away from the side rails, read the whole label first, ventilate well, and follow its directions exactly. Adhesive vapor in a closed car is not something to work in with the doors shut.
Removing and re-covering a headliner board usually means taking down pillar trim, handles, visors and lights, which on a car with curtain airbags puts you in the airbag area. That is why we point readers to a trim or upholstery shop for this, rather than giving a step-by-step.
What cleaning cannot do
We would rather be plain about the limits:
- Cleaning cannot re-attach fabric. Once the fabric and foam have separated, no cleaner brings them back together.
- Cleaning cannot stop an aging headliner from failing. If the foam is breaking down from years of heat, the panel will likely sag eventually whether you clean it or not. Gentle cleaning simply avoids speeding that up.
- Some stains will not fully come out without more moisture than the panel can take. At that point, a faint mark may be the better trade than a drooping ceiling.
Prevention mostly means managing heat and moisture: park in shade when you can, fix leaks promptly, and do not hang heavy or hard items from the ceiling, which matters for the airbags too. Keep in mind that a drive-through wash never reaches the headliner, whatever a plan includes, a point that comes up when we weigh whether car wash memberships are worth it. The ceiling stays your job.
FAQ
Can I use a steam cleaner on a car headliner?
We would not, unless the headliner maker or the steam cleaner's instructions specifically say it is suitable. Steam delivers both heat and moisture, the two things that loosen headliner adhesive. The damp-cloth blot method is the lower-risk choice.
Why did my headliner start sagging after I cleaned it?
Usually one of two things: too much liquid soaked through into the foam and adhesive, or scrubbing sheared the fabric off a foam layer that was already weak from age and heat. In many cases the panel was close to failing before it was cleaned, and the cleaning showed it.
Is it safe to glue or pin a sagging headliner myself?
Away from the roof edges, a small repair is your call, but spray adhesive often does not last if the foam has crumbled, so follow the product label and ventilate well. Never pin, glue or tape anything along the side rails above the doors, where curtain airbags sit on many cars. Check your owner's manual for their location.
What is the best cleaner for a car headliner?
We do not rank products. Look for a fabric or upholstery cleaner whose label says it is suitable for automotive headliners or interior fabric, test it on a hidden spot, and use it on a cloth rather than spraying the ceiling.
How long should a headliner take to dry?
It depends on how damp it got, the product and the weather, so we do not give a fixed time. Leave the doors or windows open with air moving through the cabin until the fabric feels completely dry to the touch, and avoid direct heat.
Blot, don't scrub. Keep it damp, not wet. Leave the roof edges alone.