How to Clean a Car Interior in the Right Order
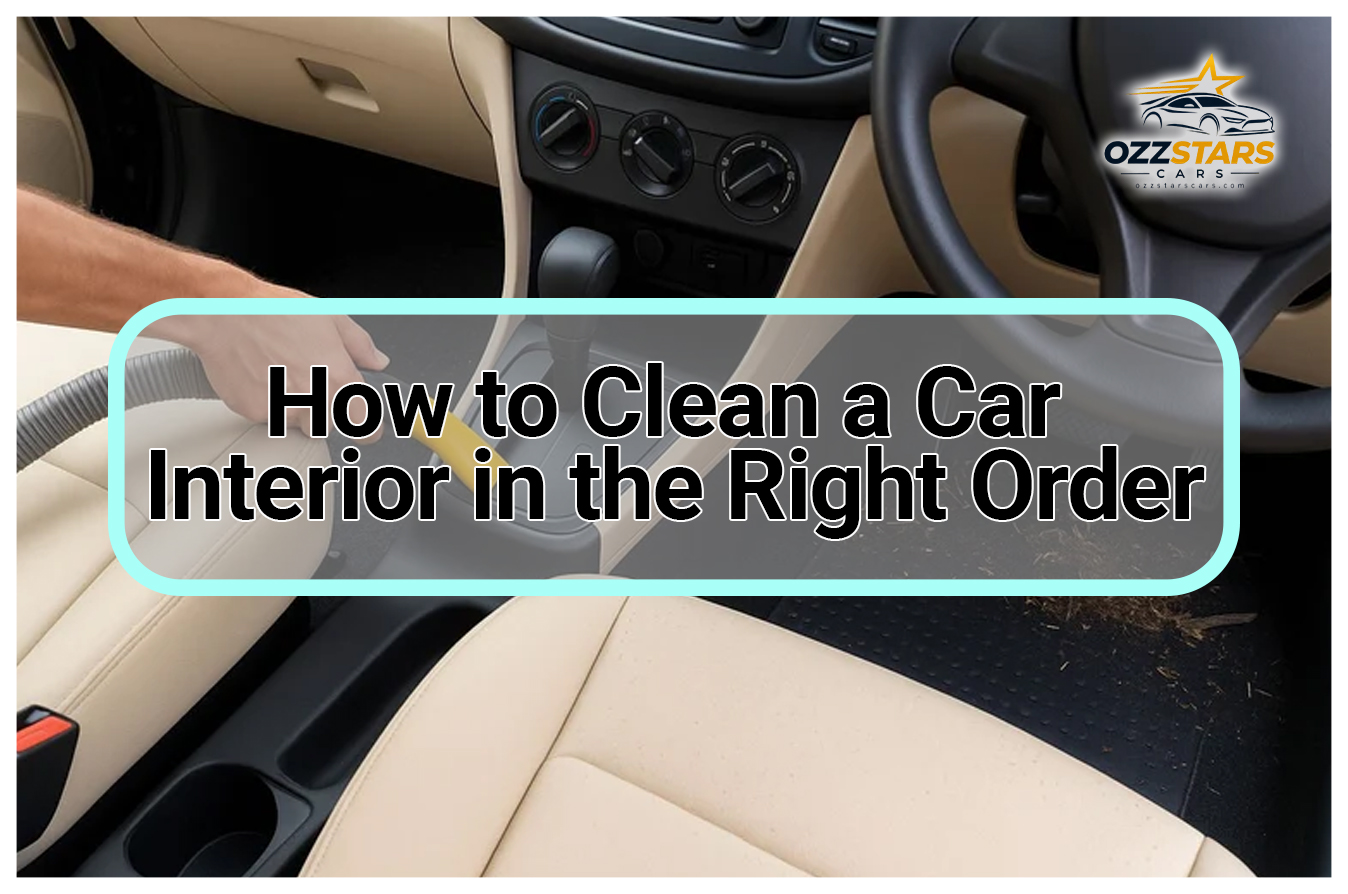
To clean a car interior, take everything out, dry-clean from the top down, vacuum, then deal with stains on cloth and leather, then wipe hard plastics and vinyl, and finish with the glass and screens. Leave the windows open so it dries. Doing it in that order means each step drops dirt or overspray only onto surfaces you have not cleaned yet.
The steps themselves are not complicated. The order is where most interiors go wrong, and it explains why a car can look dirty again an hour after cleaning.
Why an interior looks dirty again so quickly
Dust falls. Brushing vents or wiping the dash after vacuuming drops dust onto seats and carpet you have already done.
Overspray lands on glass. Cleaners and protectants sprayed near the windows leave a haze. Clean the glass first and you will clean it twice.
Residue attracts dust. A dressing or cleaner left on a surface stays slightly tacky and collects dust quickly.
Damp wicks. Fabric and carpet that were cleaned wet and left to dry slowly can pull soil up from underneath as they dry.
Every one of those is solved by order and restraint, not by more product.
The order at a glance
| Step | Surfaces | Why it goes here | What happens if you move it |
|---|---|---|---|
| 1. Empty | Trash, loose items, mats | You cannot clean around clutter | You clean around it and miss what is under it |
| 2. Dry clean, top down | Headliner edges, vents, dash, door tops | Dust falls downward | You re-vacuum the seats |
| 3. Vacuum | Seats, then carpet | Removes what step 2 dropped | Loose grit grinds into fabric during wet work |
| 4. Fabric and leather | Cloth seats, carpets, leather | Wet work after dry work | Wet grit turns into mud in the fibers |
| 5. Hard surfaces | Plastics, vinyl, trim | Wiped after messy steps are done | Splashes from seat cleaning land on them |
| 6. Glass and screens | Windows, mirrors, displays | Last, because everything else creates overspray | Haze from other products |
| 7. Dry and refit | Mats back, windows open | Moisture has to leave the cabin | Musty smells and slow-drying seats |
Step 1: Empty the car
Take everything out: trash, loose items, child seats only if you can reinstall them exactly as the seat's manual and your car's manual describe, and all floor mats. Mats are cleaned outside the car, separately, so they are dry when they go back in.
Check the gaps. Seat rails, the gap between seat and console, and door pockets collect most of the small debris.
Step 2: Dry clean from the top down
Start high. Use a soft, dry brush on vents, seams, switchgear and the tops of door cards. Work down toward the floor.
Go gently near the headliner. It is a fabric glued to a backing board, and heavy wetting or scrubbing can loosen the adhesive. A light dry brushing is enough at this stage.
This is the same principle as washing a car's exterior. Working top to bottom when washing a car keeps dirt moving onto areas you have not reached yet. The interior works the same way.
Step 3: Vacuum seats, then carpet
Seats first, carpet second, because whatever falls off the seats ends up on the carpet.
Use a crevice tool along seams and a brush tool on fabric. Consumer Reports' interior cleaning guide, updated June 4, 2026 and read September 11, 2026, recommends vacuuming carpets and cloth seats with the upholstery and crevice tools before any wet cleaning (Consumer Reports interior guide).
Slide the seats fully forward and back to reach the carpet underneath.
Step 4: How to clean car interior fabric and leather
Cloth seats and carpets. Deal with stains using as little liquid as possible. Consumer Reports advises against soaking seats because it can lead to mold and musty odors. Spray the cleaner onto a towel rather than onto the seat, work from the outside of a stain inward, and blot rather than scrub.
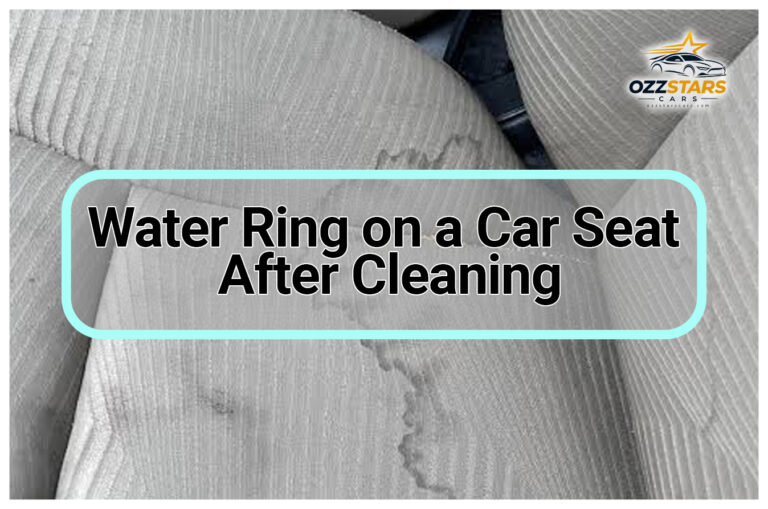
Clean whole panels, not just spots. Cleaning one small spot on a fabric panel is the most common cause of a ring around it. When you do wet-clean, take the area out to the nearest seam.
Leather and vinyl. Consumer Reports suggests a soft cloth with a mild soap solution, followed by an automotive leather conditioner on leather. Test anything new on a hidden area first.
Suede-like microfiber trim, such as Alcantara. It is easily matted by the wrong cleaner or too much pressure. Follow your owner's manual or the trim maker's guidance, and test before you treat anything.
Step 5: Hard surfaces
Dash, door cards, console and trim. Consumer Reports suggests a damp brush for vents and seams, then alcohol applied to a microfiber cloth for hard surfaces.
Avoid a glossy finish on the dash top. A shiny dashboard can reflect into the windshield and cut visibility. If you use a protectant there, choose one that dries to a matte finish.
Keep product off the pedals, the steering wheel and the shifter. A slippery residue on controls you hold or press is a safety problem, not a cosmetic one. Wipe these with a lightly damp cloth only.
Take care around airbag covers. Wipe them gently with a lightly damp cloth and follow any guidance in your owner's manual. Do not attach anything to them.
Towels matter. A clean, soft microfiber is the right tool for interior plastics and screens. How weave and weight affect what a towel leaves behind is covered in microfiber towels for car paint, and the same towel logic applies inside.
Step 6: Glass and screens, last
Never spray directly onto glass or screens. Consumer Reports advises applying the cleaner to the cloth first.
Screens need gentler treatment than glass. Consumer Reports recommends a microfiber cloth dampened with isopropyl alcohol for touchscreens, and warns that bleach, hydrogen peroxide and ammonia-based cleaners can damage upholstery as well as anti-glare and anti-fingerprint coatings.
Do the inside of the windshield last of all, after every other product has been used.
Step 7: Dry the cabin and put the mats back
Leave the windows open. Consumer Reports suggests leaving them open "for a day or longer, if possible, to allow moisture to dry thoroughly."
Refit the driver's mat properly. Put it back on its retention clips or hooks so it cannot slide toward the pedals, and never stack a second mat on top of it.
Do not clean in a baking-hot car. Heat flash-dries cleaners before they can be wiped off, the same way washing a car in direct sunlight leaves residue on paint. Park in shade or work early in the day.
Chemical safety inside a closed space
A car cabin is a small, enclosed space, and fumes build up fast. The US Environmental Protection Agency's guidance on household products, read September 11, 2026, says to "follow label instructions carefully," to "increase ventilation when using products that emit VOCs," and to "never mix household care products unless directed on the label" (EPA indoor air guidance).
In practice: doors open while you work, one product at a time, gloves if the label calls for them, and never combine cleaners to make something stronger.
Materials that need their own approach
This page gives the order. Each material has its own ways of going wrong:
- Cloth upholstery: stains that set, and rings left after spot cleaning
- Leather: cleaning without drying it out, and telling real leather from leatherette
- Suede-like microfiber: matting and pilling
- Headliners: adhesive failure if soaked
- Screens and gloss trim: fine scratches from dry or dirty cloths
Treat each as its own job, with its own test on a hidden spot.
FAQ
What is the best order to clean a car interior?
Empty it, dry-clean from the top down, vacuum seats then carpet, clean fabric and leather, wipe hard surfaces, and do glass and screens last. Then leave the windows open so it dries.
What should you not use to clean a car interior?
Consumer Reports advises against bleach, hydrogen peroxide and ammonia-based cleaners, which can damage upholstery and screen coatings. The EPA advises never mixing household products unless the label says to.
Should you vacuum before or after wiping the dash?
After. Brushing and wiping high surfaces drops dust downward, so vacuuming last in the dry stage picks it up.
How long does a car interior take to dry after cleaning?
It depends on how much liquid was used, the weather and airflow. Consumer Reports suggests leaving the windows open for a day or longer if possible. Using less liquid is the most effective way to speed it up.